How to Plant Fall Hardneck Garlic for Summer Bulbs
Learn how to select seed garlic, space cloves at the right depth in fall, mulch for winter, and care for plants in spring. Written for backyard vegetable gardeners preparing autumn beds for a summer garlic harvest.
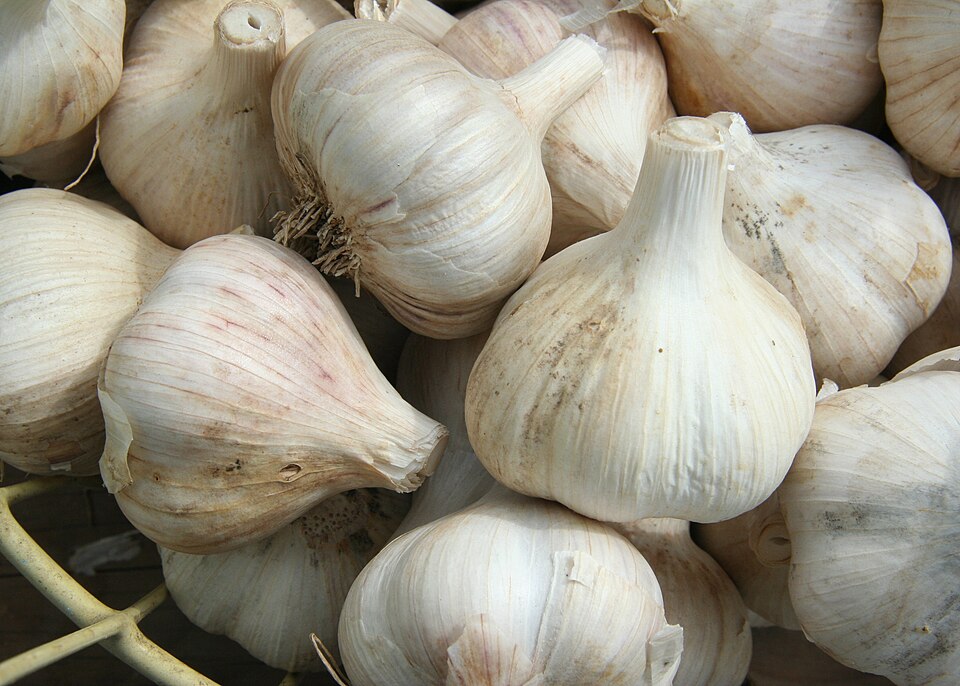
Learn how to select seed garlic, space cloves at the right depth in fall, mulch for winter, and care for plants in spring.
Whether you are growing in backyard beds, patio containers, or a bright indoor windowsill, understanding a few basic plant care details makes vegetable gardening much more reliable. Below you will find step-by-step instructions, common pitfalls to avoid, and answers to frequent questions.
At-a-Glance Summary
- Hardneck garlic relies on cool autumn root growth and winter cold exposure to split into a full head of cloves.
- Planting the largest outer cloves from a seed bulb produces noticeably larger summer heads than planting tiny inner cloves.
- Keeping the papery wrapper on each clove when planting protects it from soil fungi.
Step-by-Step Instructions
-
Step 1: Choose Disease-Free Seed Garlic Suited to Your Winter Climate
Select cold-hardy hardneck varieties for cold-winter regions, or softneck varieties for mild-winter climates. Avoid planting grocery-store garlic, which may carry soil diseases or be treated to prevent sprouting.
Why this works: Clean seed stock prevents introducing long-lasting allium diseases into your vegetable beds.
-
Step 2: Separate Bulbs into Individual Cloves on Planting Day
Pop the heads apart into single cloves right before planting, leaving the papery skin intact on each clove. Set aside the biggest outer cloves for planting and use the smallest cloves in the kitchen.
Why this works: Cloves dry out and lose vigor if cracked apart weeks ahead of planting.
-
Step 3: Plant Cloves Pointed Tip Up, 2 to 3 Inches Deep and 6 Inches Apart
Loosen your garden bed and mix in finished compost. Push each clove into the soil with the flat root plate facing down and the pointed tip facing up, covered with 2 to 3 inches of soil and spaced 6 inches apart.
Why this works: Garlic has a shallow root system that needs loose soil and 6 inches of space to form full-sized bulbs.
-
Step 4: Cover the Bed with 4 to 6 Inches of Straw or Shredded Leaves
Water the planted bed well, then spread a 4-to-6-inch layer of clean wheat straw or shredded fall leaves over the soil.
Why this works: Mulch cushions the soil against winter freeze-thaw heaving and keeps spring weeds down.
-
Step 5: Feed in Early Spring and Snip Curled Scapes in Early Summer
Side-dress emerging green shoots with a nitrogen-rich organic fertilizer in early spring, stop fertilizing once bulbs start swelling in late spring, and snap off curling hardneck flower stalks (scapes) once they form a loop.
Why this works: Removing the flowering scape directs the plant’s energy into sizing up the underground bulb.
How the Plant Grows
Hardneck garlic relies on cool autumn root growth and winter cold exposure to split into a full head of cloves. Planting the largest outer cloves from a seed bulb produces noticeably larger summer heads than planting tiny inner cloves. Keeping the papery wrapper on each clove when planting protects it from soil fungi.
• Choose Disease-Free Seed Garlic Suited to Your Winter Climate: Clean seed stock prevents introducing long-lasting allium diseases into your vegetable beds.
• Separate Bulbs into Individual Cloves on Planting Day: Cloves dry out and lose vigor if cracked apart weeks ahead of planting.
• Plant Cloves Pointed Tip Up, 2 to 3 Inches Deep and 6 Inches Apart: Garlic has a shallow root system that needs loose soil and 6 inches of space to form full-sized bulbs.
• Cover the Bed with 4 to 6 Inches of Straw or Shredded Leaves: Mulch cushions the soil against winter freeze-thaw heaving and keeps spring weeds down.
• Feed in Early Spring and Snip Curled Scapes in Early Summer: Removing the flowering scape directs the plant’s energy into sizing up the underground bulb.
Common Mistakes to Avoid
- Stop nitrogen fertilizer at least 4 to 6 weeks before harvest so bulbs tighten up and cure properly.
- Cure harvested garlic in a shaded, airy spot—direct hot summer sun can cook the cloves inside their wrappers.
Seasonal & Regional Timing
Frequently Asked Questions
Is it okay if my fall-planted garlic sends up green shoots before winter?
Yes, a few inches of green growth before winter is common and will survive under a layer of straw mulch.
How do I know when garlic is ready to dig in summer?
When the lower third of the leaves have turned brown and dry while the top 5 to 6 leaves are still green, dig one test head to check that cloves fill out the wrapper.
Sources & Further Reading
- Cornell Cooperative Extension — Growing Garlic in Home Gardens (Hardneck garlic needs a period of winter cold to form divided bulbs; plant individual cloves pointed end up in fall and mulch with 4 to 6 inches of straw.)
- University of Wisconsin-Madison Extension — Garlic (Allium sativum) in the Home Garden (Separate cloves shortly before planting and set them 2 to 3 inches deep and 6 inches apart in well-drained, fertile soil.)